キャラメル包み(合わせ包み)のラッピング基本テクニック・コツ
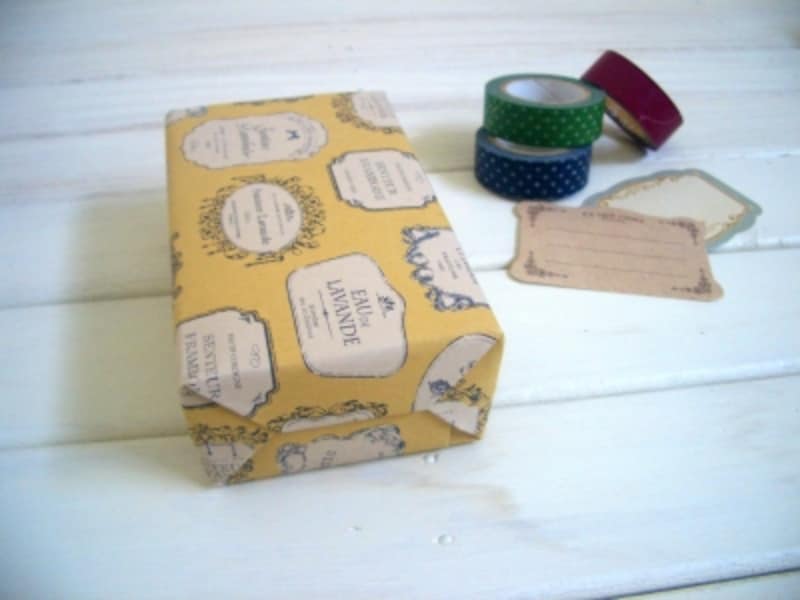
まずは簡単なキャラメル包み(合わせ包み)からマスターしましょう
キャラメル包み(合わせ包み)の材料
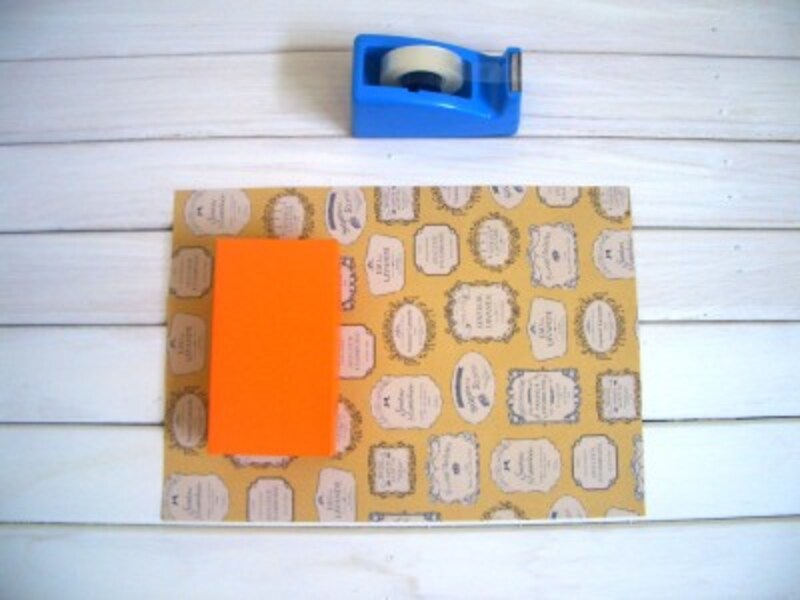
材料
- 包みたいものに合わせたサイズの包装紙
- テープ
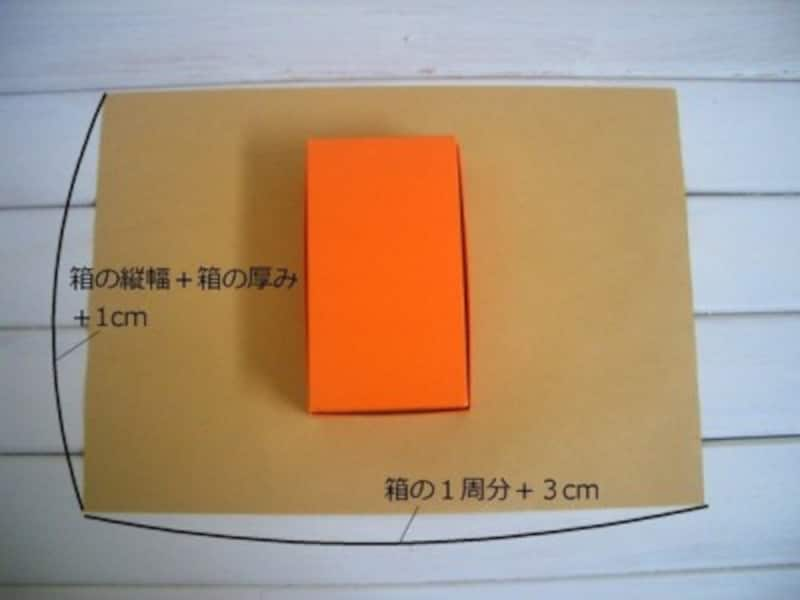
サイズの決め方
キャラメル包み(合わせ包み)の包み方とコツ
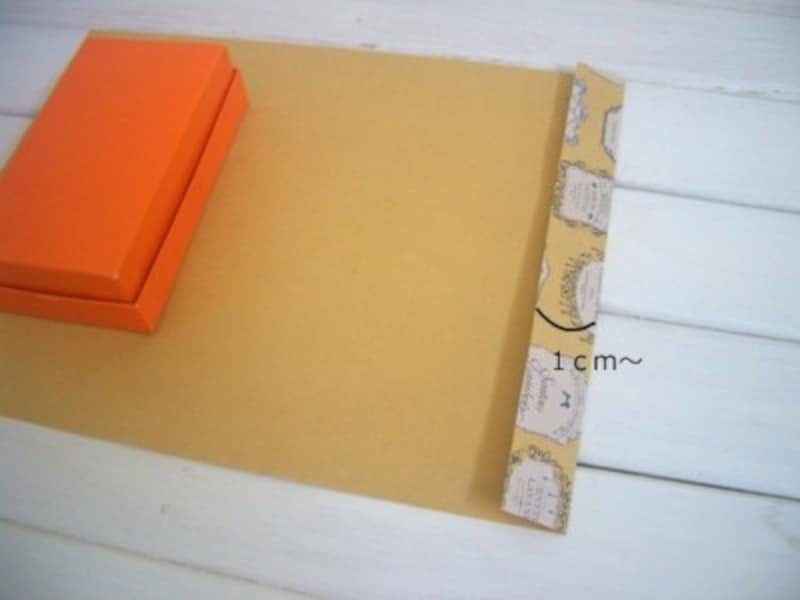
端を折ります

左側をかぶせます
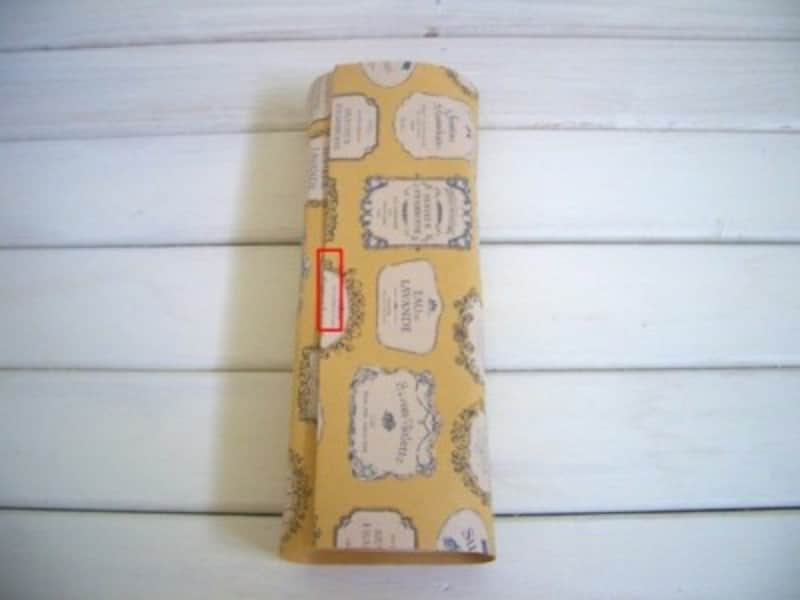
右側をかぶせます
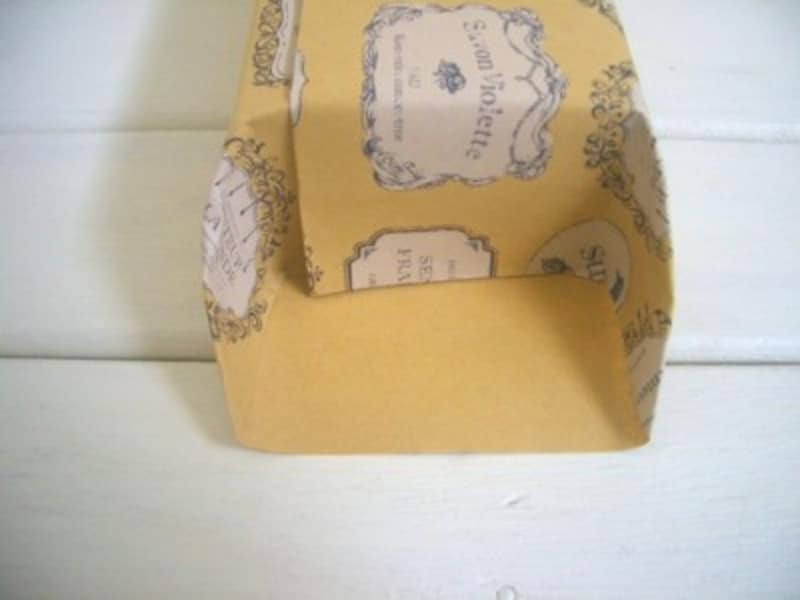
上辺を折ります
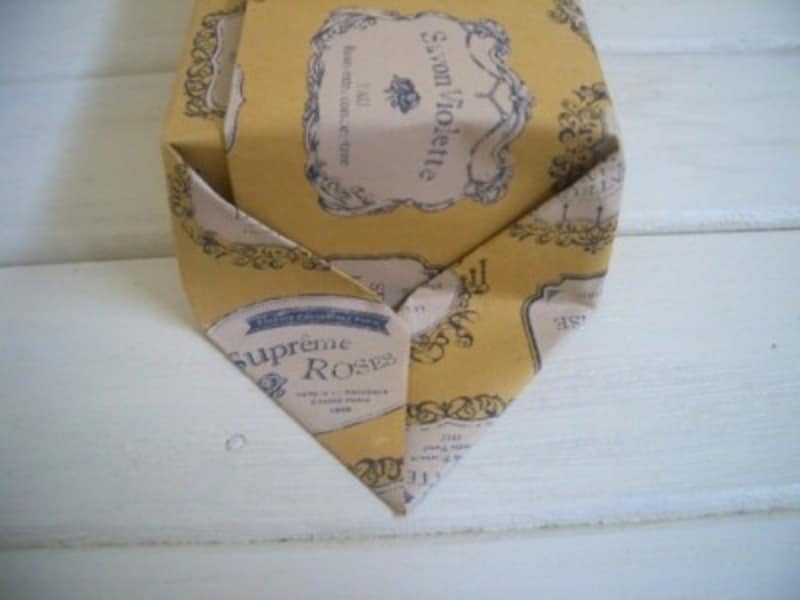
左右を折ります
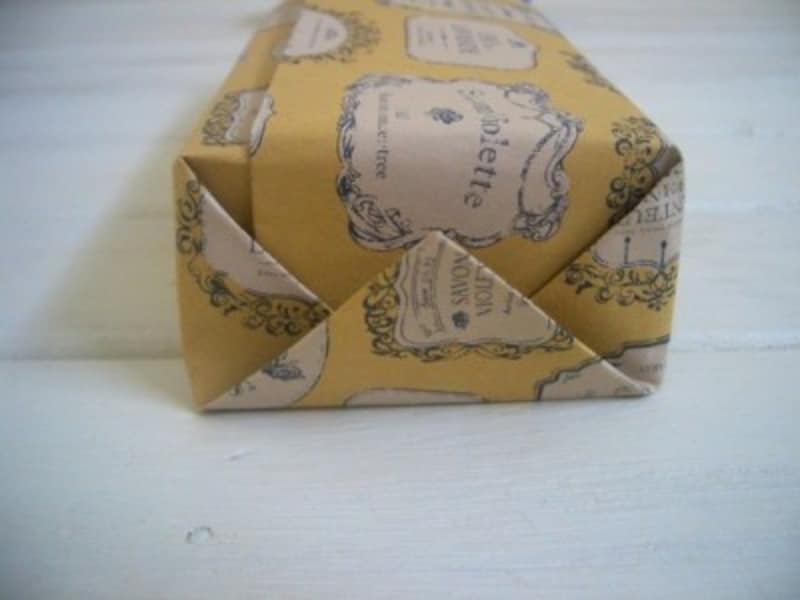
下辺を折ります
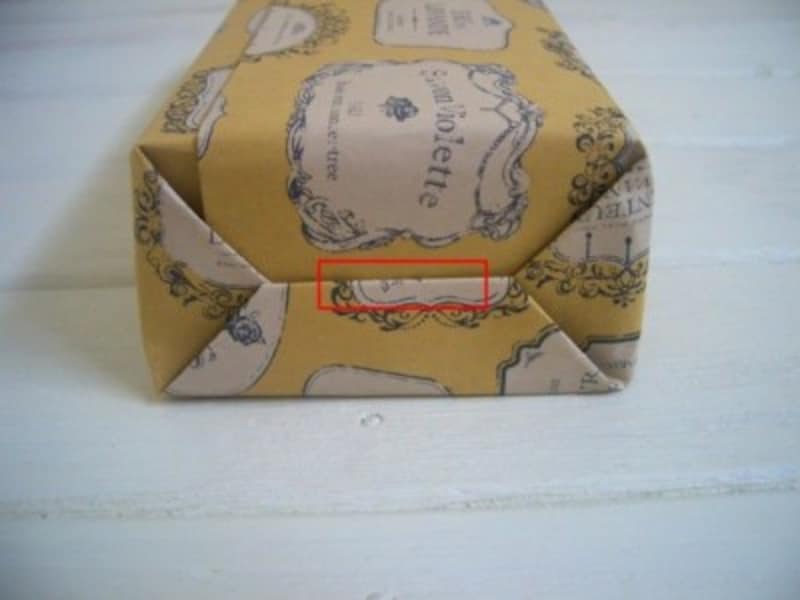
合わせ位置を整えます
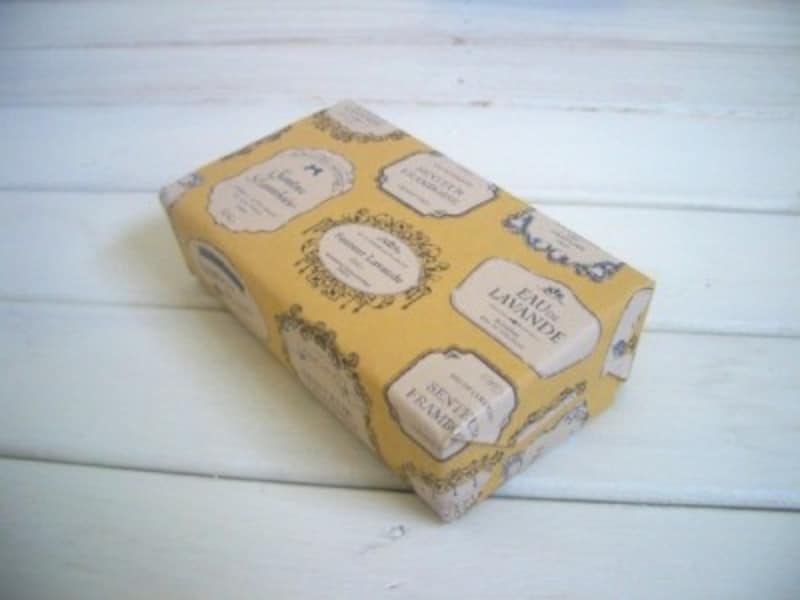
キャラメル包み(合わせ包み)ができあがり
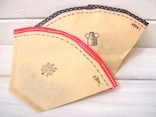
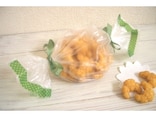
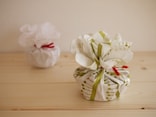
【関連記事】
「キャラメル包み(合わせ包み)」と呼ばれる包装紙のラッピングの基本の包み方コツを紹介! キャラメル包みは、少なめの紙で包め、比較的簡単なのがいいところです。また、この包み方は、包装紙の基本になる包み方。ぜひ参考にしてみてください。
まずは簡単なキャラメル包み(合わせ包み)からマスターしましょう
材料
サイズの決め方
端を折ります
左側をかぶせます
右側をかぶせます
上辺を折ります
左右を折ります
下辺を折ります
合わせ位置を整えます
キャラメル包み(合わせ包み)ができあがり