プロペラトンボの作り方……簡単工作で遊ぼう!
プロペラトンボの作り方
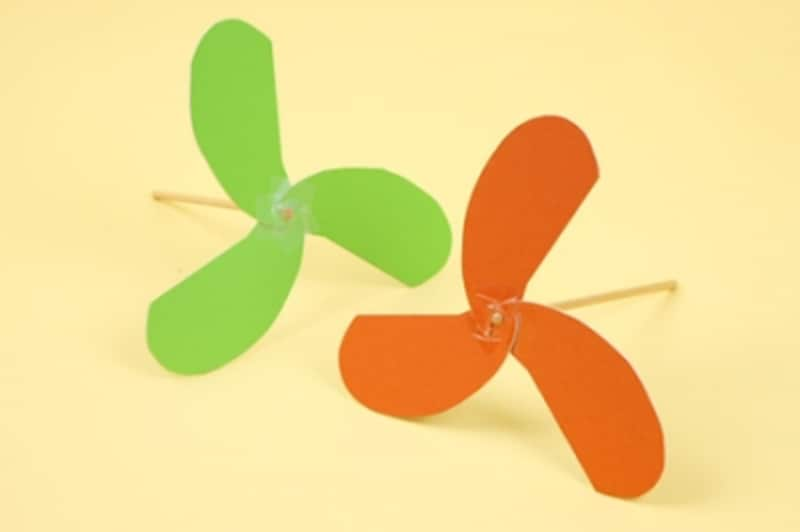
厚紙をプロペラにして竹串を付ければ、竹とんぼならぬプロペラとんぼのできあがり。夏の入道雲目指して飛んでいけ!
プロペラトンボの材料・作り方手順
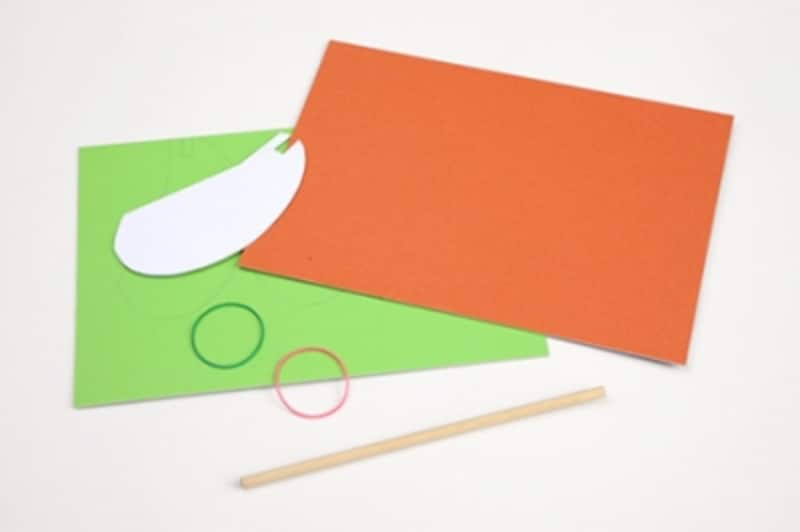
型紙、厚紙、輪ゴム、直径3ミリくらいの竹串
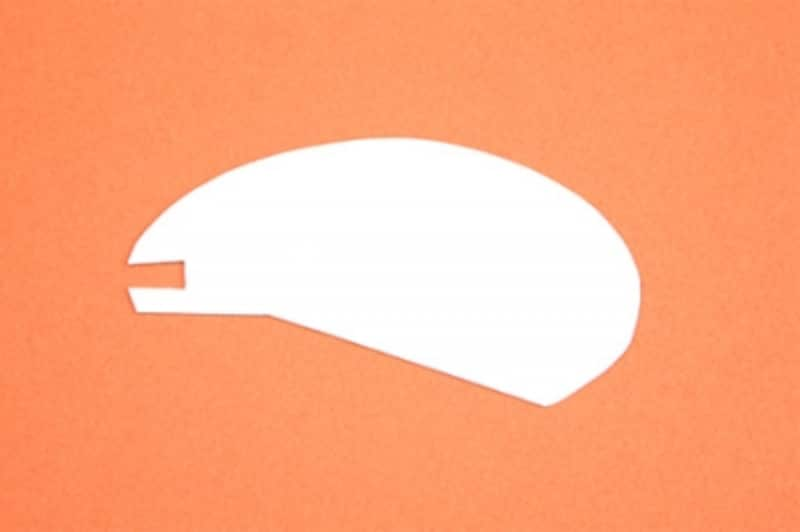
写真のように楕円形の一部を切り取るようにしてプロペラの型紙を作ります。
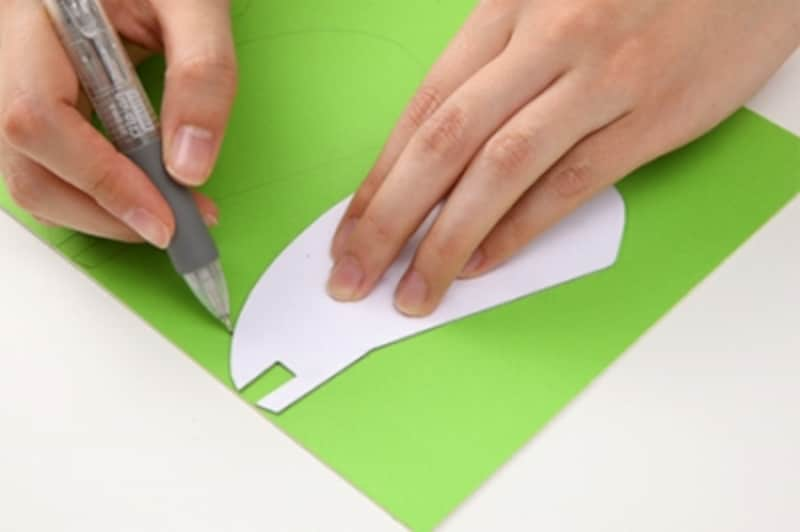
厚紙に型紙を当てて型をとります。これを3枚分作ります。
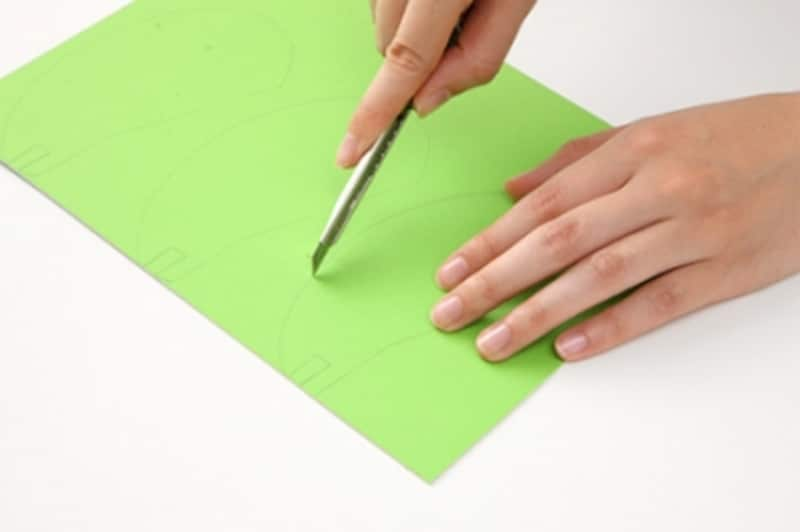
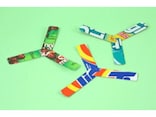
3でとった型に沿って、3枚のプロペラをカッターで切り取ります。
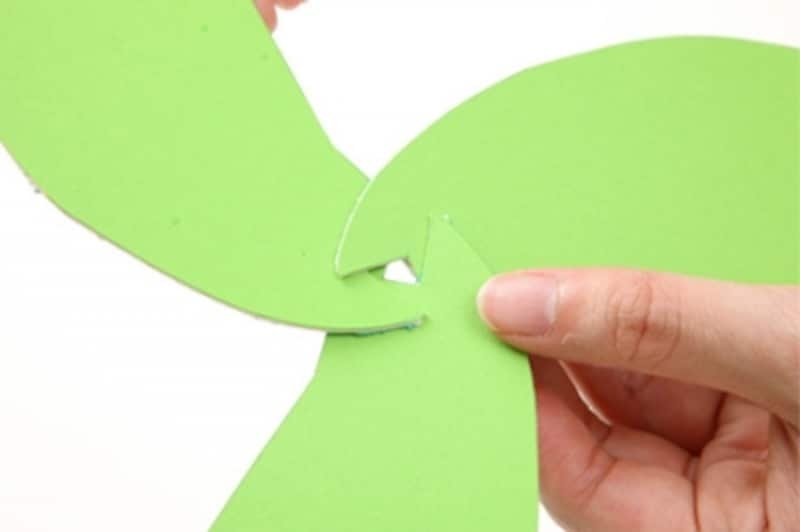
写真のように3枚のプロペラが交互になるように組み合わせます。
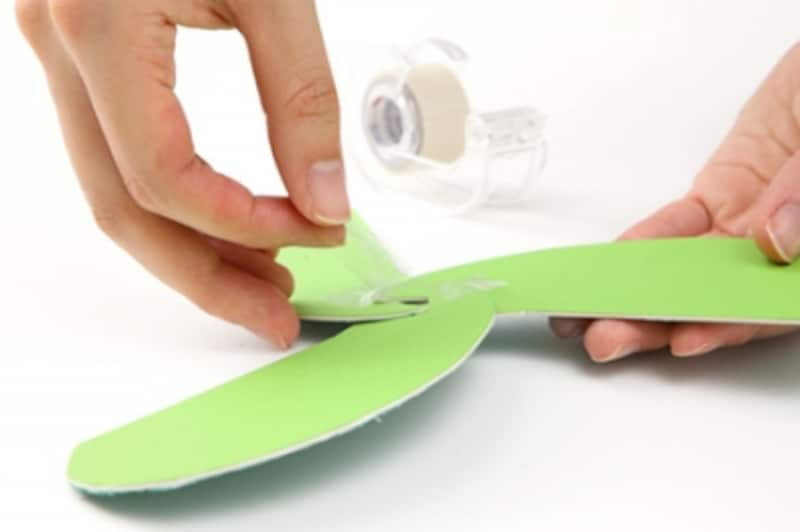
3枚のプロペラをバランス良く組み合わせたら、セロテープで固定します。

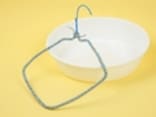
プロペラを支えるための輪ゴムを竹串の端に巻き付けます。

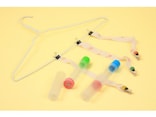
3枚のプロペラの中心に竹串を刺し、ボンドで固定します。このまま一日乾かせば完成です。

プロペラがまっすぐになるように、両手で挟みます。バランスが悪く、竹串が大きく揺れてうまく飛ばないようなら、竹串の下に小さなおもりを付ければ安定します。

竹とんぼと同じ要領で、くるくると回しながら空をめがけて飛ばします。高く飛んだら大成功!くるくると落ちてくるのを待ち構えて、上手にキャッチできれば大大大成功!誰がとるか競争です!
【関連記事】