Apache2をWindows XP Pro/Windows 2000 Proにインストールする場合の手順について解説します。
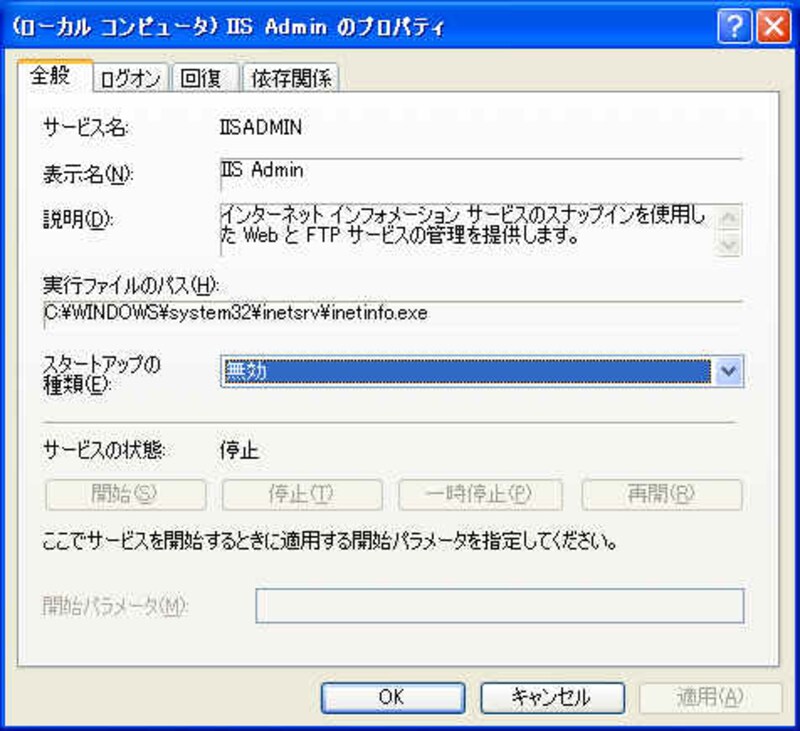
*注 --- Apacheをインストールしようとする環境にIIS(MicrosoftのWebサーバー)などの Apache以外のWebサーバーが起動している場合は、Apacheのインストール作業前にApache以外の Webサーバーのサービスを停止してください。
Apacheのインストール時にApache以外のWebサーバーが起動していると、正常にインストールを 完了できずApacheのサービスを開始できなくなります。
画像をクリックすると拡大表示できます
1. Apache2のダウンロード
Apacheのサイトより
Win32 Binary (MSI Installer): apache_2.0.59-win32-x86-no_ssl.msi [PGP] [MD5]
をダウンロードします。
*注 --- 当記事ではバージョン2.0.59を例に解説していますが、
より最新のバージョンが公開されていればそちらをダウンロードしてください。
2. インストール開始
デスクトップにダウンロードしたapache_2.0.59-win32-x86-no_ssl.msiを
ダブルクリックしインストールを開始します。

Apache2をインストール時の説明は英語で表示されますが、
インストール後の日本語表示については問題ありません。
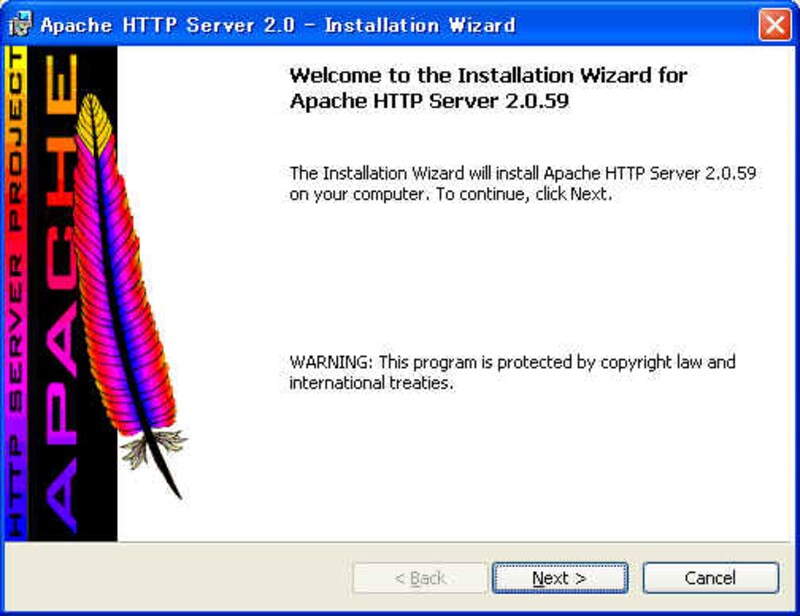
3. Weclcome to the Installation Wizard
画像をクリックすると拡大表示できます
Nextをクリックします。
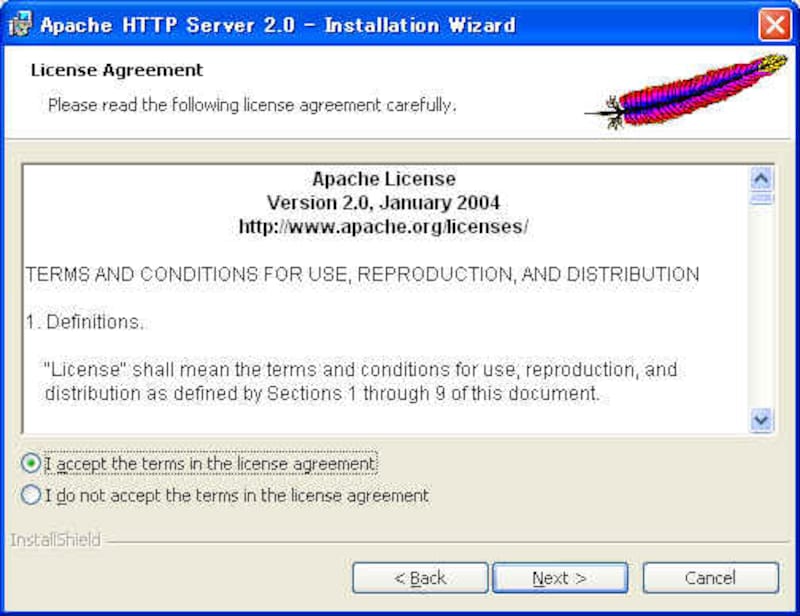
4. License Agreement
画像をクリックすると拡大表示できます
I accept the terms in the license agreement を選択しNextをクリックします。
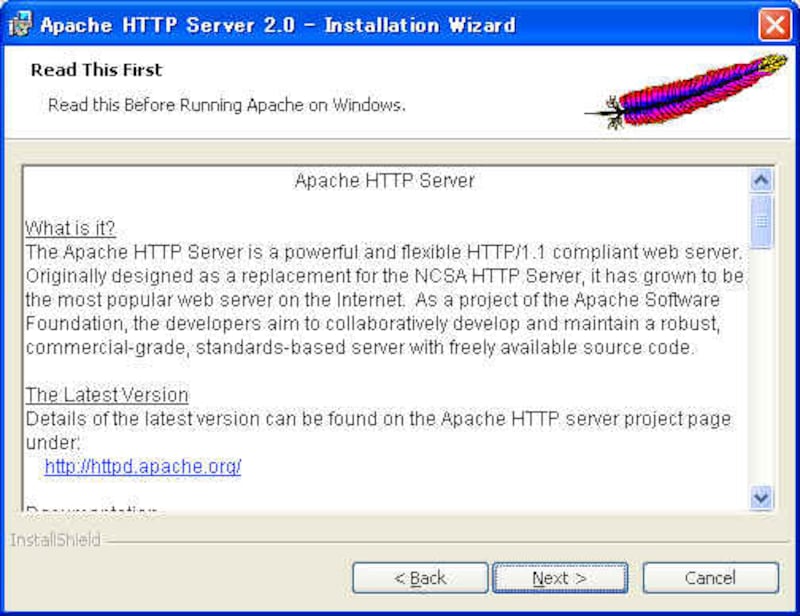
5. Read This First
画像をクリックすると拡大表示できます
Nextをクリックします。
6. Server Information
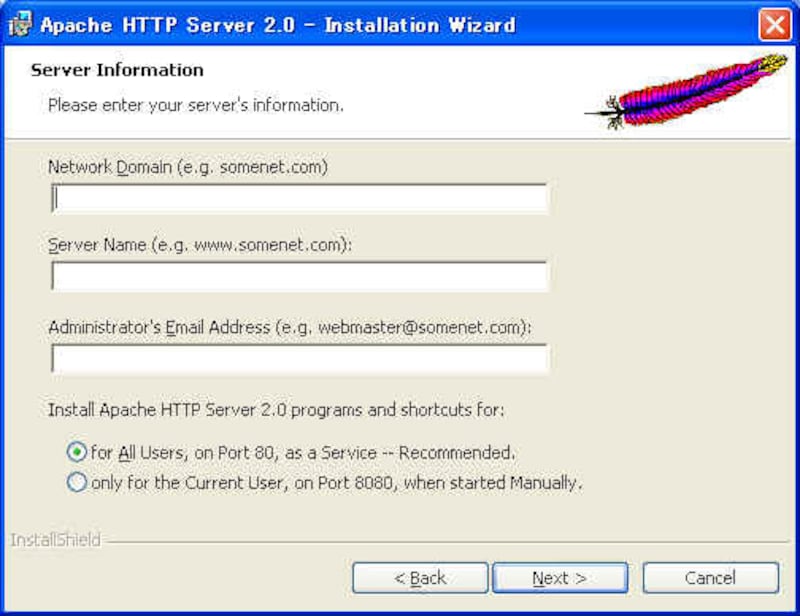
画像をクリックすると拡大表示できます
Network Domain--ドメイン名を指定します。決まっていなければ localhostなどを指定します。
Server Name--サーバー名を指定します。決まっていなければ localhostなどを指定します。
Administrator Email Address---管理者のメールアドレスを指定します。
Install Apache Httpd Server Programs and ....は
Run as a service for All Usersを選択します。
以上を入力しNextをクリックします。
7. Setup Type
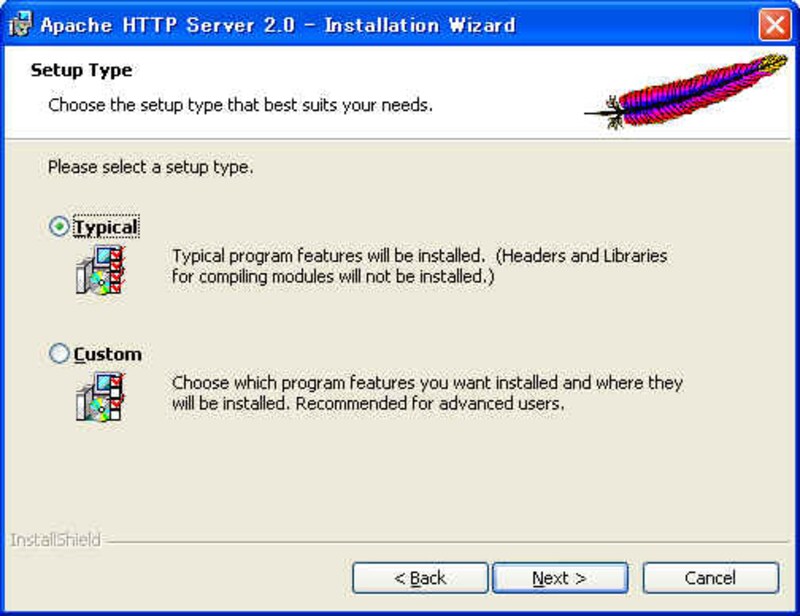
画像をクリックすると拡大表示できます
インストール先のディスクの空き容量に余裕がある場合はTypicalを選択しNextをクリックします。
CustomはApache2の構成をよくご存知の方のみ選択してください。
Customを選択した場合はイントールに必要なファイルのみを指定できます。
8. Destination Folder
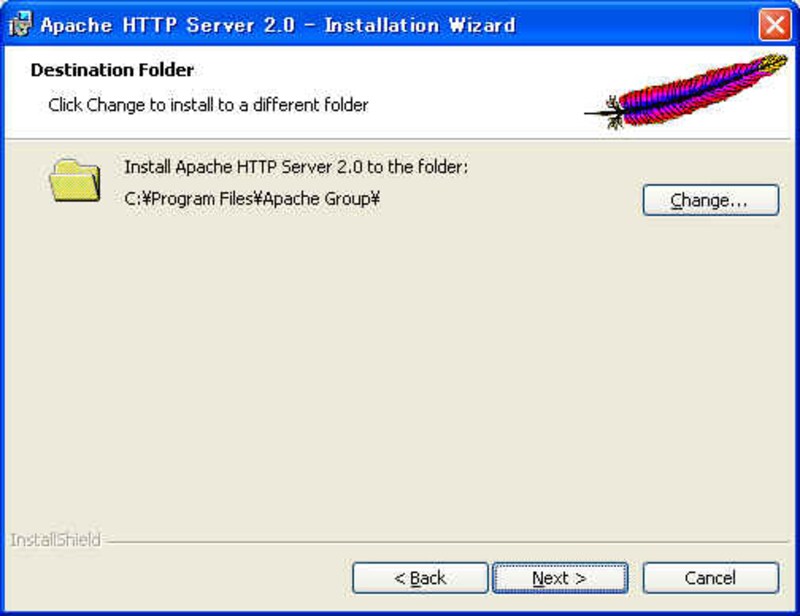
画像をクリックすると拡大表示できます
インストール先のフォルダを指定しNextをクリックします。
指定しなかった場合はC:\Program Files\Apache Groupが
デフォルトのインストール先になります。
9. Ready to Install the Program
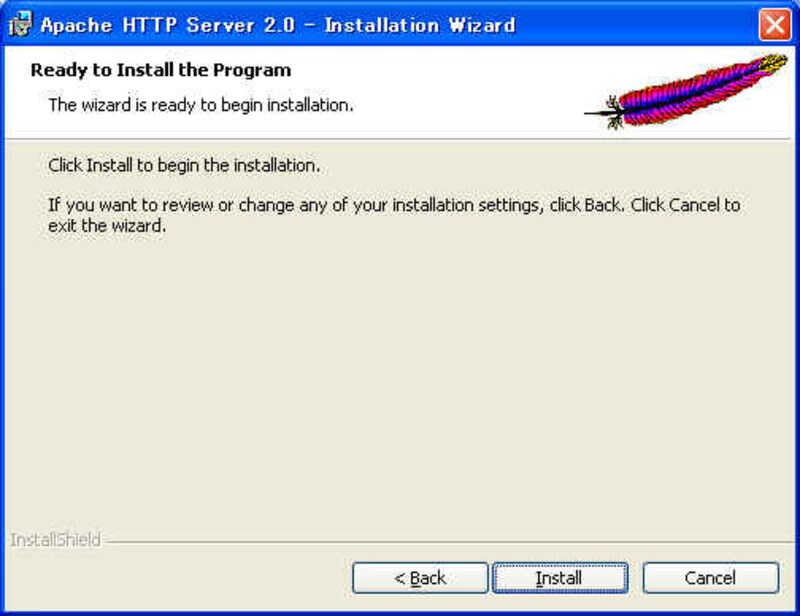
画像をクリックすると拡大表示できます
Installをクリックするとインストールを開始します。
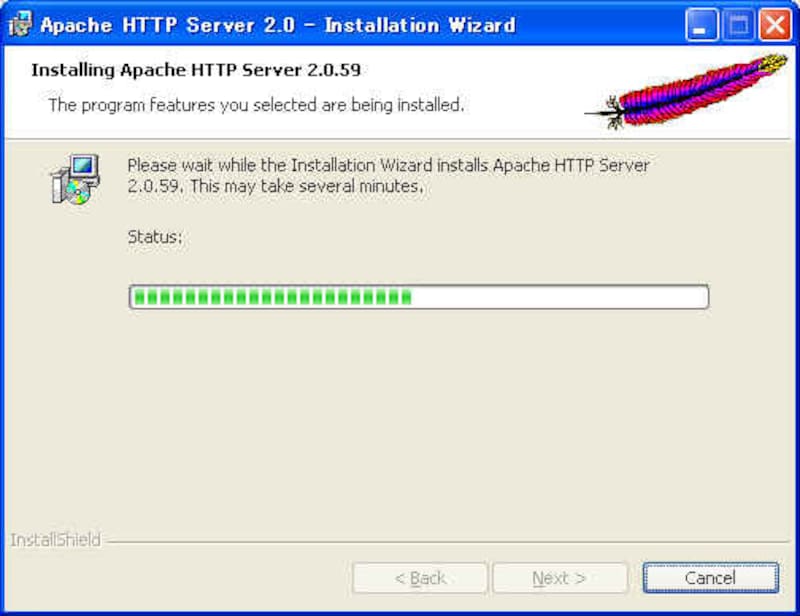
10. Installing Apache HTTP Server
画像をクリックすると拡大表示できます
Apache2のインストールが開始されます。
インストールが完了するまで待ちます。
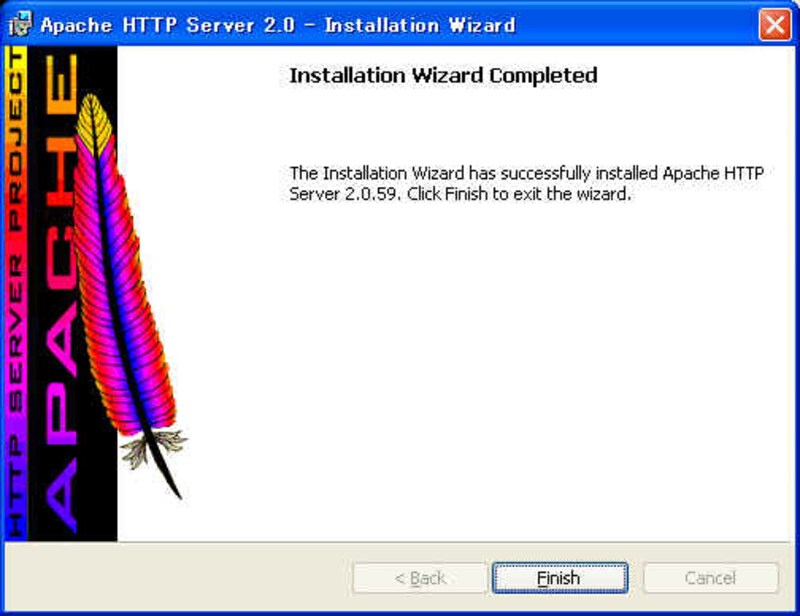
11. Installation Wizard Completed
画像をクリックすると拡大表示できます
Apache2のインストール作業が完了しました。
Finishをクリックしインストーラーを終了します。
Apache2、PHP5のインストールと設定 関連記事一覧
Windows版PostgreSQL Version 8 関連記事一覧
Web+DBプログラミングの基礎 Apache + PHP + MySQL/PostgreSQL FAQ 一覧
Apache + PHP + PostgreSQL編の記事一覧


