12. Apache2の起動確認

画像をクリックすると拡大表示できます
ブラウザのアドレス欄にに http://localhost/ と入力し
上記のような画面が出力されればApache2は正常に起動しています。
http://127.0.0.1 と入力しても同じです。
Apache2が起動していない場合はシステム管理ツールのサービスで
Apache2のサービスの状態を確認してください。
サービス

画像をクリックすると拡大表示できます
Apache2のサービス

画像をクリックすると拡大表示できます
Apache2の再起動、起動、停止はシステム管理ツールのサービス(上の画面)以外にも
スタートメニューのプログラムのApache HTTP ServerのControl Apache Server
またはApache Service Monitorでおこなえます。

画像をクリックすると拡大表示できます
Apache Service Monitor

画像をクリックすると拡大表示できます
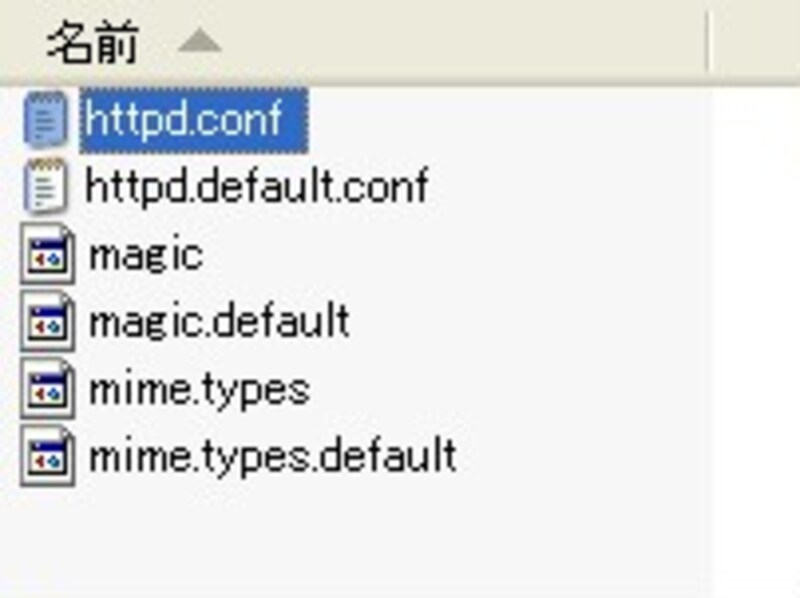
13. httpd.confの修正
C:\Program Files\Apache Group\Apache2\conf
内のhttpd.confをテキストエディタで開き下記のように修正し、保存します。
*注 修正の際は全角文字、全角スペースなどの文字が間違って入らないように注意してください。
13.1 LoadModuleの指定
下記の1行
LoadModule php5_module c:/php/php5apache2.dll
を追加します。*注

画像をクリックすると拡大表示できます
*注 --- PHP5をApacheで使用する場合はphp5apache.dll、
PHP5をApache2で使用する場合はphp5apache2.dllと指定しますのでご注意ください。
13.2 AddTypeの指定
下記の2行
AddType application/x-httpd-php .php
AddType application/x-httpd-php-source .phps
を追加します。

画像をクリックすると拡大表示できます
14. Apacheの再起動
スタートメニューのプログラムのApache HTTP ServerのControl Apache Serverまたは
Apache Service MonitorによりApacheの再起動をおこないます
15. phpinfoを表示するプログラムの作成
テキストエディタで
<? phpinfo() ?>
と1行のみ書いたテキストファイルを作成し、
C:\Program Files\Apache Group\Apache2\htdocs内に
test.phpとファイル名をつけて保存します。
*注 編集の際に全角文字、全角スペースなどの文字が間違って入らないように注意してください。
16. PHPの動作の確認

画像をクリックすると拡大表示できます
ブラウザのアドレス欄に
http://localhost/test.php
と入力し上記のような画面が出力されればApache2とPHPは正常に起動しています。
http://127.0.0.1/test.php
と入力しても同じです。
続いて下の方にスクロールし、MySQL、ODBC、PostgreSQLなどが有効になっているか確認します。
有効になっていない場合はPHP5のインストールと設定の「5.4 使用するDLLを指定」を
確認してみてください。

画像をクリックすると拡大表示できます
上図の用に表示されているとMySQLとODBCは有効になっています。

画像をクリックすると拡大表示できます
上図の用に表示されているとPostgreSQLは有効になっています。
Apache2、PHP5のインストールと設定 関連記事一覧
Windows版PostgreSQL Version 8 関連記事一覧
Web+DBプログラミングの基礎 Apache + PHP + MySQL/PostgreSQL FAQ 一覧
Apache + PHP + PostgreSQL編の記事一覧